Showing posts with label how-to. Show all posts

Wednesday, September 1, 2010

How-To: Pet Corner

One of my more recent projects: this project was just published via the Lowe's Creative Ideas website.  It's a good way to keep all of your pet's accessories accessible and organized.


STEP-BY-STEP

Step 1:
 Maximize your wall storage. Following the manufacturer’s instructions, install two bracketless shelves 11 inches apart to allow plenty of storage space. (We placed our lowest shelf 4 feet, 5 inches above the floor). Stock the shelves with pet shampoo, treats, and other accessories.


Step 2: Designate a spot to hang leashes and harnesses. We chose a rail with 4 hooks that coordinates with the style of the shelves. Center a hook rail 3 1/2 inches below the lowest shelf, and install using the provided hardware.

Step 3: Keep waste bags close at hand. Center a grocery bag holder 7 inches to the left of the shelves, and install using the provided hardware. Fill with recycled plastic bags you can grab on your way out for a walk.


Step 4: Display your pet’s photos.  Attach a picture hanger to the back of six 8-inch cork rounds.  (You may need to drill small pilot holes for the hangers.) Paint a paw print on one round using hobby brushes. Allow to dry.  To the left of the bag holder, hang two rows of three rounds each using wire nails. Tack pictures of your pet to the cork.
Step 5: Organize your feeding space. Use a boot tray as a place mat for your furry friend’s food and water bowls.  The durable plastic easily washes clean. A galvanized garbage pail holds bags of food.  We placed our pail on a 4-tier shoe rack for extra storage.

Monday, August 30, 2010

How-To/Look for Less: If I Don't Have a Million Dollars Lamp

If I had a million dollars I still wouldn't buy you this $1,500 (really?!) lamp.*  I will, however, show you how to make your own similar model for a substantial discount.  I do like the simplicity of this lamp's lines. It lends itself to a variety of decor styles and is easily customizable.


Step-by-Step
1.) Select a simple stick lamp like this one (which already comes with a black shade), a solid colored wrapping paper and matching spray paint.
Tip: Make sure your spray paint is rated for use on metal.
2.) Remove the shade and harp from the lamp.  Spray paint the lamp base.  Allow to dry
3.) Wrap the wrapping paper around the shade.  Use a pencil to mark the size of the shade.  Cut out the paper.  Measure and trim off 1/8" from the top and bottom of the paper template.
4.) Attach the paper to the inside of the shade using double stick tape.  Reassemble the lamp and shade.

Tip: When you line a lamp shade with wrapping paper, make sure you use a low wattage bulb (no higher than 40w).


*If I had a million dollars I would buy you a monkey.  Haven't you always wanted a monkey?

Tuesday, August 17, 2010

How-To: One Step Wonder

There are three factors:
Good
Fast
Cheap
You can only have two, or so the saying goes.

This just may be an exception though.  All you need to do is apply a quick coat of spray paint to a thrift-store frame with fun detailing to make an inexpensive, flirty poster frame.

Friday, August 13, 2010

How-To: Brooch Storage and Display

"A really well made buttonhole is the only link between art and nature."-Oscar Wilde ("Phrases and Philosophies for the Use of the Young")

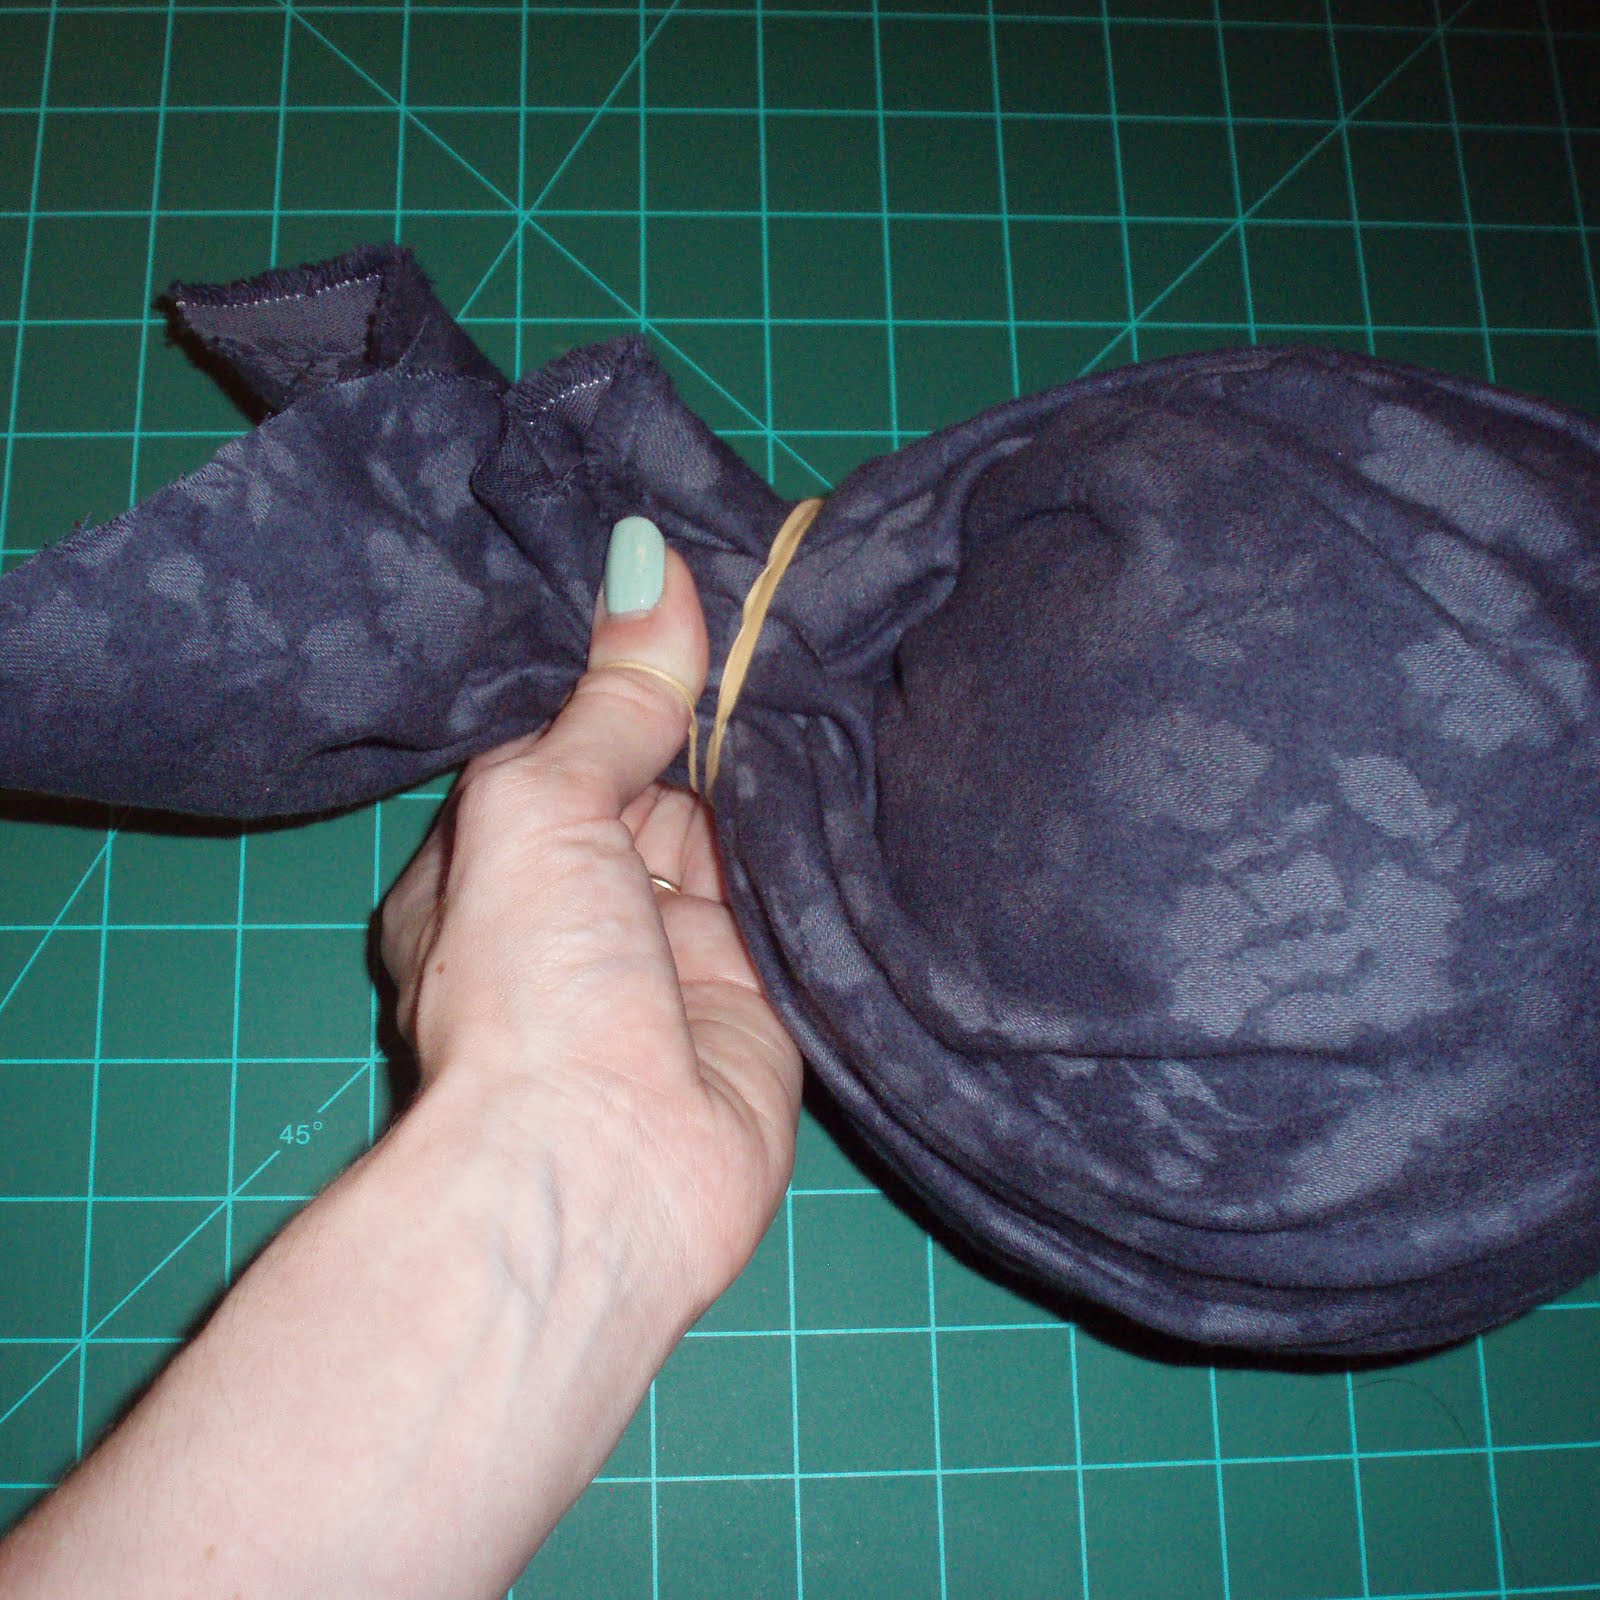
Some of my favorite costume jewelry pieces are floral brooches.  They're like modern buttonholes (or en Français: boutonnière), and they add personality and whimsy to a work dress or blazer.  Create a simple, inexpensive display for your brooches and pins with some scrap fabric, a styrofoam ball, a rubber band, and a pretty container.


1.) Select a container.  Purchase a Styrofoam ball that is slightly larger than the opening of the container.

2.) Measure the circumference of the Styrofoam ball.  Add 3-4-inches to find an overall dimension.  Cut a square of fabric to the size of the overall dimension.

3.) Gather the fabric around the ball and secure with a rubber band.

4.) Place the ball in the container.

5.) Insert pins into Styrofoam.

*This method can be used for all types of broaches and pins.  If your broaches have a separate clutch fastener, keep the fasteners safe in a Ziploc bag inside your jewelry chest.

Tuesday, August 10, 2010

How-To: Stickin' it to my Ugly Metal Doors


For the past two years, I have tried desperately to cover the plain, flush metal doors in my apartment.  Using magnets, photographs and posters, all I was able to accomplish was high school locker chic.  Inspired by some vintage stile and rail doors that I saw at a thrift store recently, I set out to use implied architectural detail to add personality to my entries.

Step-by-Step
1.) Measure the overall dimensions of your door.  Based on the size of your door, decide how many panels you want.  Check out manufacturer websites for design inspiration.  Draw and dimension your plan on graph paper.

2.) Clean your door with a mild soap and water solution to remove any dust or dirt.  Allow to dry.  Use a pencil and straight edge to mark off your design.  

3.) Cut and apply strips of white electrical tape that are slightly longer than the panel markings for your design.

4.) Use an Xacto knife and straight edge to cut off the excess lengths of tape.

*Tip1: Electrical tape will stretch when pulled off of a roll.  Allow the tape to relax to its original length before applying it to your door.

*Tip 2: Be sure to place tape consistently on either the inside or outside of your measurements.

*This method was tested on a metal door with a semi-gloss paint finish.